Step By Step Guide for Decorating the Perfect Christmas Tree

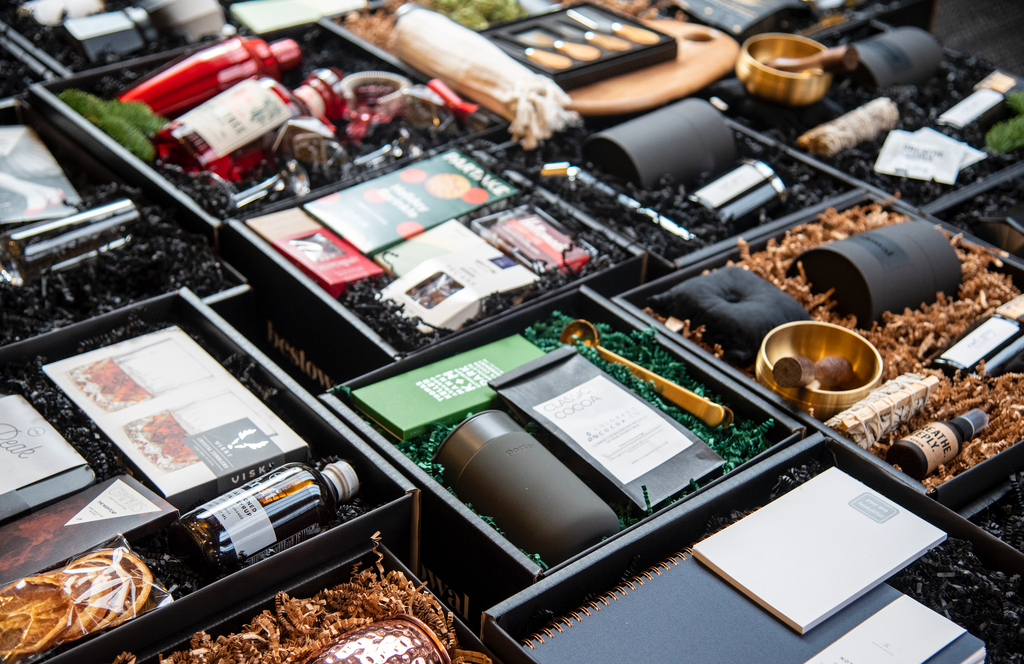
Chloe Reaumond is the queen of curating some of the most luxurious, modern and locally sourced gifts for her brand, Bestowal. Whether it’s for a CEO who has everything or a sales team and staff that all have different needs + likes, Reaumond knows how to keep things streamlined, simple and impactful. So, it isn’t any surprise that she has a great, layered strategy around decorating the Christas tree this season.
Although the holidays are supposed to be a time of slowing down and enjoying yourself, we all know how stressful and hectic things can get with visitors, kids off school and work demands. Decorating your Christmas tree can be something that slows you down in the chaos and brings out the creativity in you! See how Chloe makes decorating her Christmas tree easy and realistic. “In my opinion, it's never too early to put up the Christmas Tree. I typically do it right before Thanksgiving or the day after. Each year I come up with a different design and theme. It makes it new and exciting each year.” - Chloe Reaumond, Founder of Bestowal Gifts.

STEP 1:
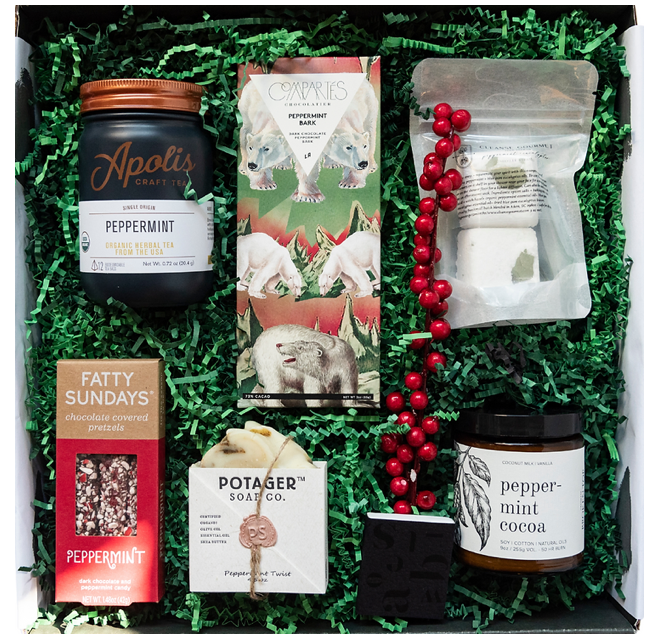
To get started, checkout a local wholesale florist or hobby shop and start sourcing your design materials. Chloe likes to use what they call "picks" in addition to traditional ornaments. This is the best way to achieve a full tree. It's all about the "real estate" each item takes up. One of Chloe’s biggest tips is to be really conscious of costs. You want to maximize what you are able to get within your budget, so it can be helpful to opt for picks and ornaments that take up a lot of space but are still relatively inexpensive.
STEP 2:
The next step is to put up the tree and string the lights. There are some great light options out there now that come pre-rolled on a spool that makes it super easy. Chloe gets fresh lights every year.

STEP 3:
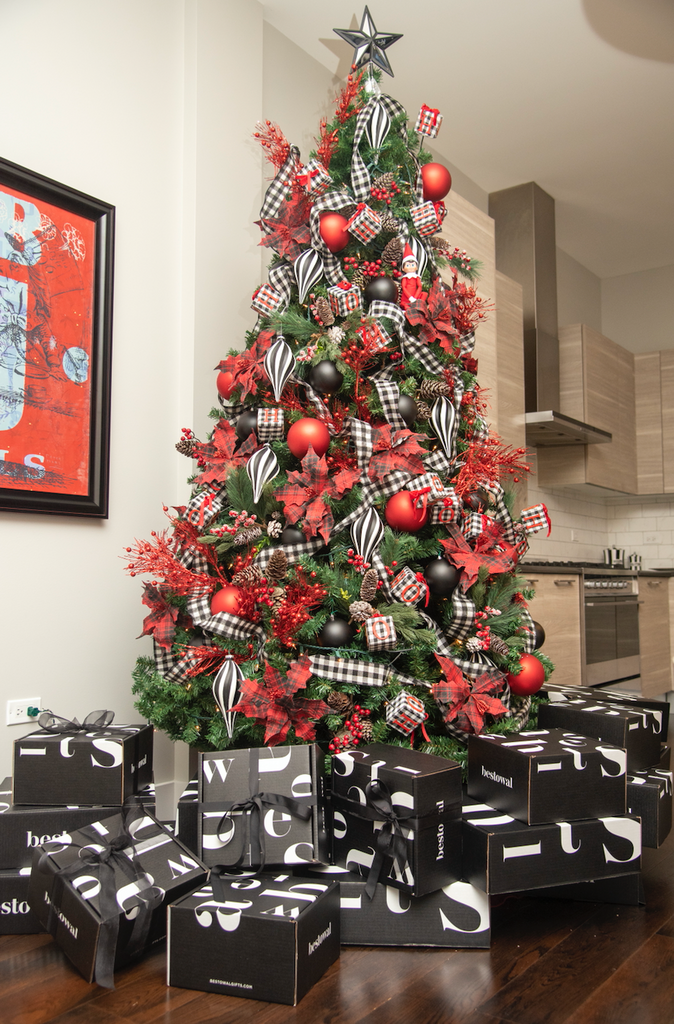
Next, lay out all of the tree decorations. This will give the best idea of what you have to work with. It's important to remove all cellophane and tags at this step. Then, approach the decorating in layers. Start with solid-colored balls. After that, start filling in with some of the larger decorations. This year for Chloe that was the plaid poinsettia. It is important to always take time to step back and see how symmetrical the ornaments are laying out and identify gaps that need to be filled. Chloe then filled in the tree with her "Ho Ho Ho" picks (these were great because they have 3 arms so you can mold them to occupy a lot of space). Next, she filled in with the picks she had lesser amounts of, followed by large black and white striped ornaments to really make the tree pop.
STEP 4:
The last step is to always finish it off with a garland. This year Chloe opted for a really nice plaid moldable ribbon. To achieve the look that Chloe has, start at the top and create a waterfall effect. You want to push the ribbon in at certain points to achieve the look of a wave.
BONUS:
As a fun bonus, Chloe loves getting the kids their own tree to decorate. It helps them get into the holiday season and also keeps them occupied while she decorates her tree. Chloe says, “It’s a great tradition we started last year, and they love it.”